
FindQC QC Photo Checklist: What to Check Before Shipping
A repeatable way to check product identity, condition, symmetry, construction, labels, measurements and packaging in warehouse photos.
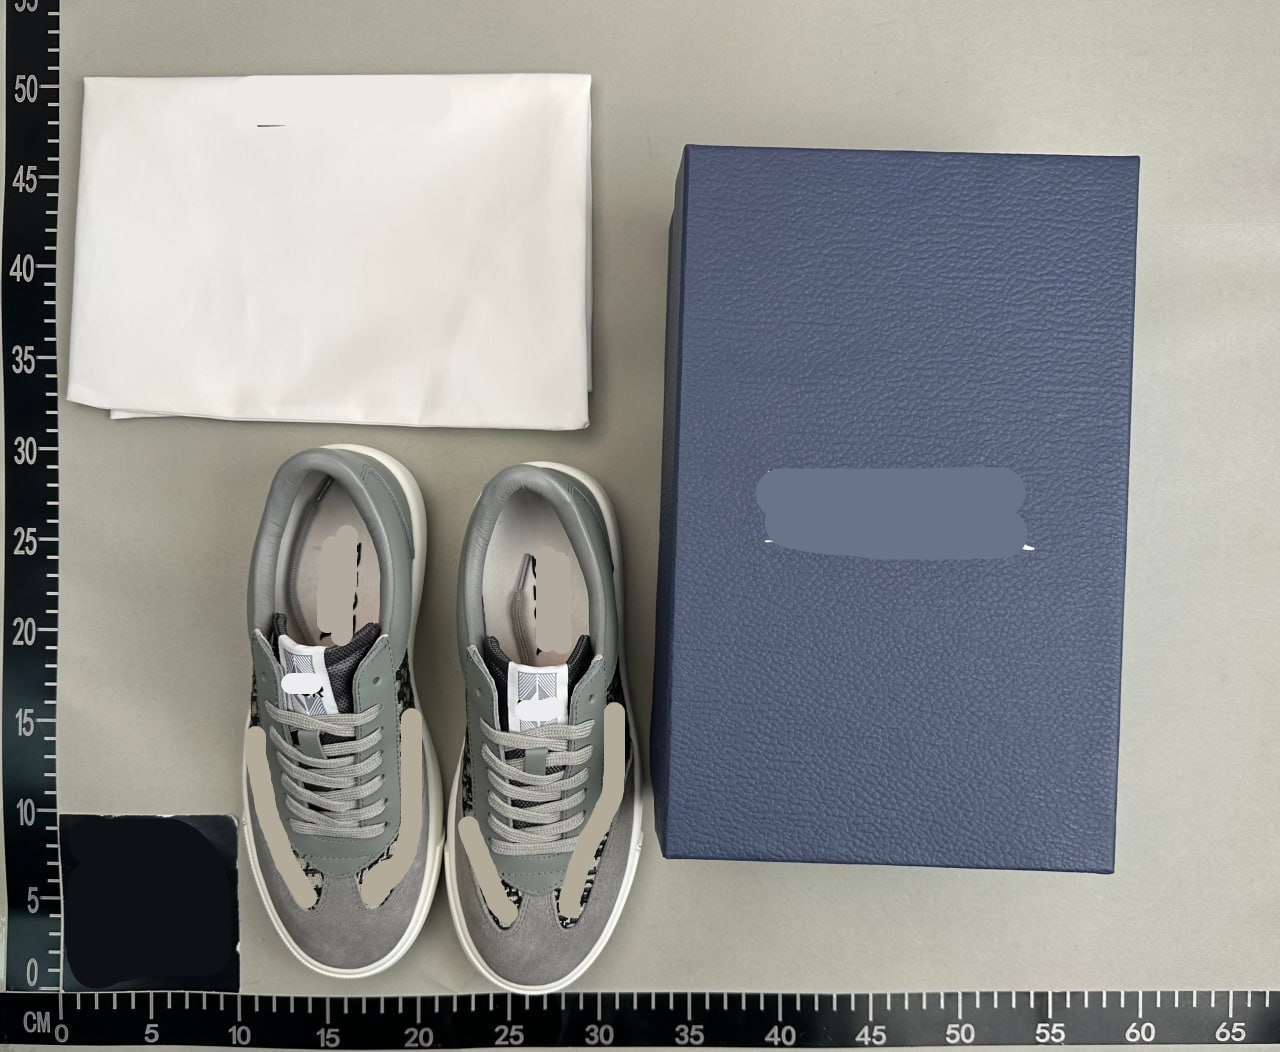
A repeatable way to check product identity, condition, symmetry, construction, labels, measurements and packaging in warehouse photos.
Warehouse photos are most useful when every image answers a specific question. They can reveal a wrong colour, visible damage, missing parts or a measurement mismatch while an item is still at the warehouse. They cannot prove everything about materials, authenticity or future durability.
The practical solution is a fixed review sequence. Start with identity, move from the whole item to the smallest useful details, and finish with a written decision.
1. Confirm the item before judging quality
Open the source listing, selected options and warehouse record together. Confirm the product, colour, size, model, version and quantity. If the listing offers several bundles, check the exact option text rather than relying on the cover image.
Identity checks
- Product ID and destination match the intended item.
- Colour, size and version match the order.
- Included straps, cables, laces or other parts are present.
- Visible labels do not contradict the chosen option.
2. Scan the whole shape from every supplied angle
Begin with the widest front, back, side and underside views. Look for stains, tears, crushed areas, obvious deformation and missing pieces. Compare corresponding areas such as two shoes, sleeves, pocket positions or opposite sides of a brim.
Camera distance and soft materials can change apparent proportions. A concern is stronger when it remains visible across more than one angle.
3. Follow seams, edges, prints and hardware
Inspect seams, glued edges, print borders, embroidery, zips, buttons, eyelets and closures. Look for visible interruptions such as skipped stitching, a lifting edge, a loose component or a clearly displaced print.
Do not enlarge a blurred image until compression artifacts look like defects. If a decisive area is not sharp enough, record it as not visible and ask for one focused close-up.
4. Read measurements as evidence, not decoration
Check where the ruler begins and ends, whether the item lies flat and whether fabric is stretched. Compare the warehouse measurement with both the seller chart and a similar item that already fits.
Useful requests
- Chest width measured straight between underarm seams.
- Insole removed and measured from heel to toe.
- Bag width shown with both ruler endpoints visible.
- Model or size label photographed square-on.
5. End with accept, investigate or resolve
Accept when the evidence answers your important questions. Investigate when one area is missing or ambiguous. Resolve through the order service when the visible item conflicts with the order or a non-negotiable requirement.
Keep a short note with the product URL, selected option, concern, supporting image and date. This makes a follow-up photo easier to evaluate.
6. Separate the same item from a merely similar result
FindQC says its results can be grouped as likely same-item records and visually similar recommendations. That distinction matters. A similar result can teach you which angles or construction points deserve attention, but it cannot establish that your seller, version or production batch will be identical. Follow the marketplace link, compare the seller and variant, and treat any mismatch as a new candidate rather than evidence for the original one.
When several historical records exist, look for a repeated pattern instead of selecting the cleanest photograph. Consistent alignment, labels and measurements across different records are more informative than one unusually good set. A repeated defect is a risk signal, not proof that your unit will have the same problem. The warehouse images for your own order remain the final visual checkpoint.
8. Write a photo request that can be answered
A useful request names one area, one angle and one purpose. Ask for the left heel seam square-on, the size label without glare, or the insole beside a ruler with both endpoints visible. Avoid requests such as ‘check quality’ because they leave the photographer guessing and rarely create comparable evidence.
Before paying for extra images, check whether another supplied frame already answers the question. If colour is the concern, request neutral lighting or a comparison with a neutral warehouse object; if symmetry is the concern, ask for a centered camera position. Save the new frame beside the original concern so the decision trail remains understandable later.
9. Keep a decision record until delivery
Save the source link, selected options, order reference, important warehouse images, measurements, packaging request and the decision date. This record is useful if a support conversation begins after dispatch, and it prevents memory from turning an uncertain image into a confident claim. Keep screenshots of time-sensitive listing details, but retain the searchable URL and item identifier too.
10. Worked example: turn a vague concern into a decision
Suppose a shoe listing has several historical QC sets. One pair appears uneven at the heel, while the remaining sets look consistent. First confirm whether those records share the same marketplace item and version. Then mark heel shape as a checkpoint rather than declaring the listing defective. When your order reaches the warehouse, compare both heels in a centered rear view, check whether packing pressure explains the shape, and request one focused image only if the wide view remains ambiguous.
Now add the commercial limits. Confirm the ordered size label and any measured insole length, note the agent’s return window, and avoid approving shipment while a deal-breaker remains unresolved. If the follow-up frame shows a clear mismatch, use the third-party order service to request the appropriate remedy. If it resolves the concern, save both images and the reason for approval. This method uses FindQC to identify risk, the live listing to confirm identity, and your warehouse evidence to decide.
Source documentation
Sources describe the services referenced. Examples and worksheets are independent editorial guidance; check current details with the provider.
- FindQC: What is QC? Official explanation of Standard and Premium QC, visible checks and the decisions available before international shipping.
- FindQC: How FindQC Works Official documentation for link, keyword and image search, result grouping, ranking and the limits of similar-item matches.
- FindQC Terms of Service Official service boundaries: FindQC is an aggregation platform, not a seller, forwarder or authenticity certifier.